Here's where things stood with my lamp stand at the end of my
previous post about making it from a dresser drawer:
I'd wanted to replace this:
And here it is all finished!
The trip from here to there starting with priming:
(I also primed some boxes that I use to keep clothes organized.) Happily, we had primer left over from painting the garage.
I had a tough time deciding how to decorate the door.... flourishes?
decoupage? collage? It took me a couple of days of thinking, but I
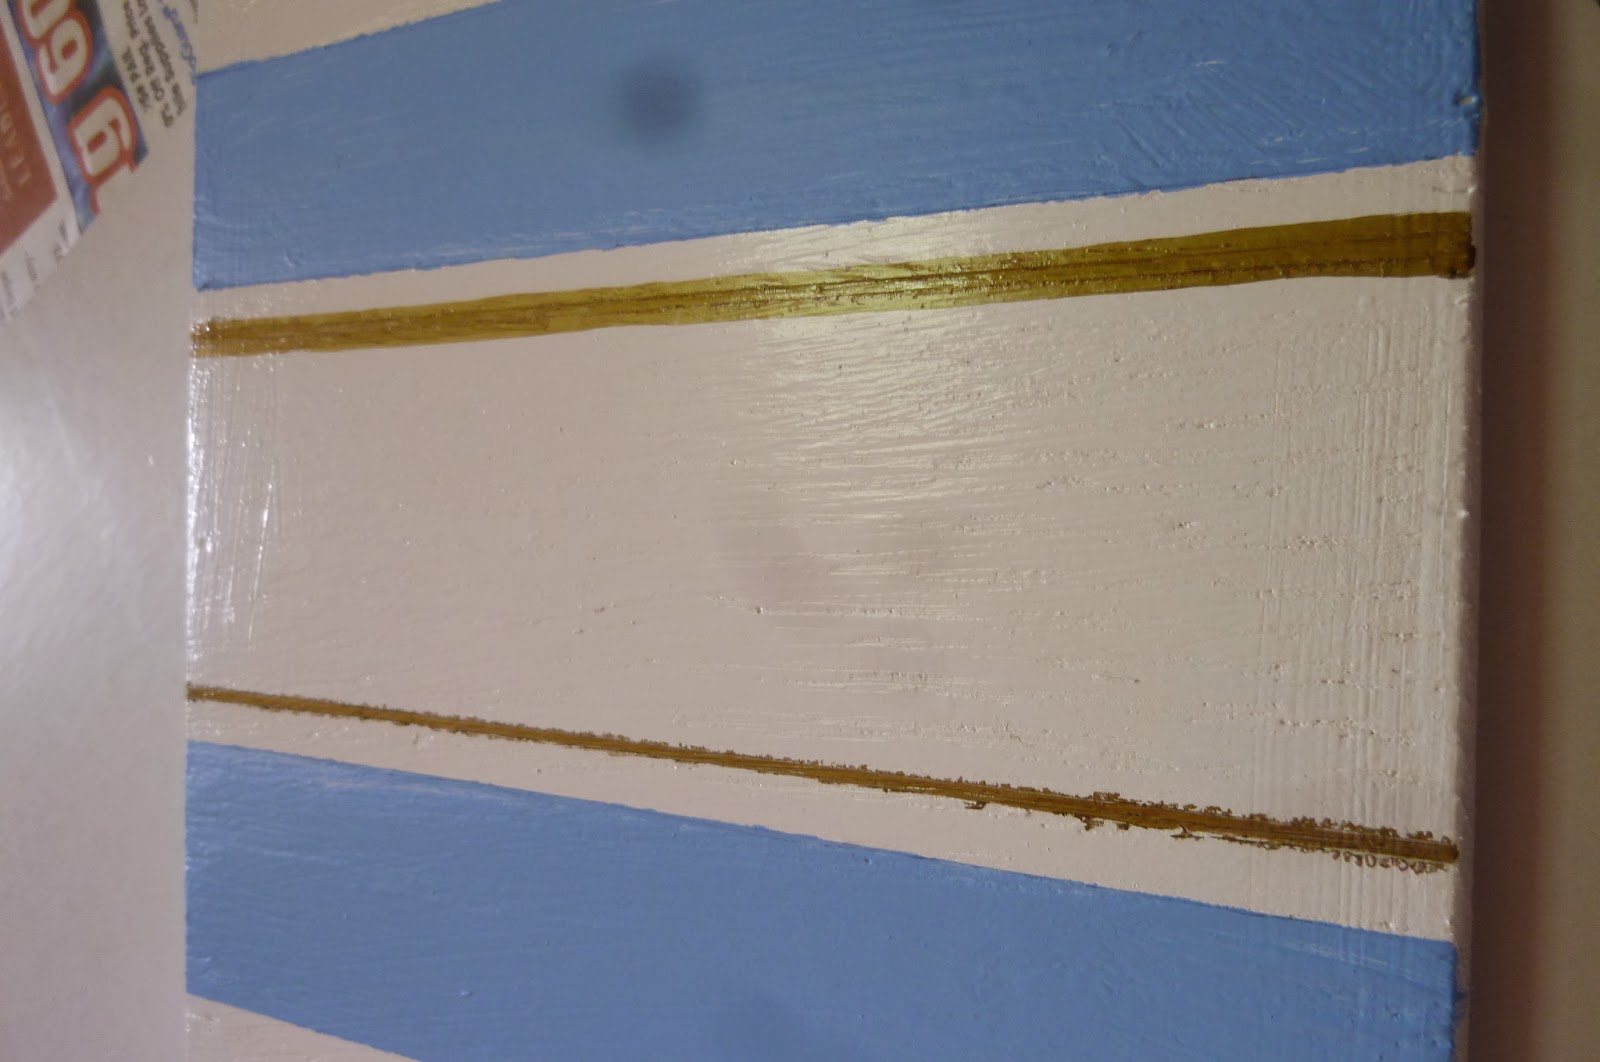
finally settled on stripes. I taped up the door. I had to think backwards--wherever there was blue tape, there would be white, and whatever was left white would be covered in blue paint...
I used a gold Sharpie pen paint for the gold stripes. The black tape is "artists' tape" and it didn't work all that hot, but then, I didn't use it for its intended purpose.
The blue paint was left over from painting the ceiling and it had glaze in it. Therefore, on the advice of my painting expert and carpool buddy Jason, I lightly score the tape with my exacto knife before pulling it off.
I free-handed the center flourish, and then had to add more flourishes to disguise the fact that it wasn't quite centered!
You can see my practice attempts on the scrap cardstock. I was most worried about this step but I'm really pleased with how it came out.
Next I had to touch up the stripes with the paint pen. You can see a "before" and "after" below:
Finally, I screwed the hinge back in place....
... and put it on my dressing room table. Viola! I'm delighted with the final result. It really helps pull the room together, and it will give me a great place to tuck away less-than-sightly items..


No comments:
Post a Comment