What can you do with old T-shirts? You can upcycle them into a purse! I went for a youthful color combo, but you could easily make your purse or clutch in just your favorite colors or perhaps to match your best refashioned outfit.
 This one is a little more sedate.

I made this purse almost entirely while carpooling, which was part of the point of the project. I'm only going to do something boring and repetitive whilst unavoidably stuck in a car with nothing else to do. This is a way to make that time useful since I get carsick when I read.
I made this purse almost entirely while carpooling, which was part of the point of the project. I'm only going to do something boring and repetitive whilst unavoidably stuck in a car with nothing else to do. This is a way to make that time useful since I get carsick when I read.
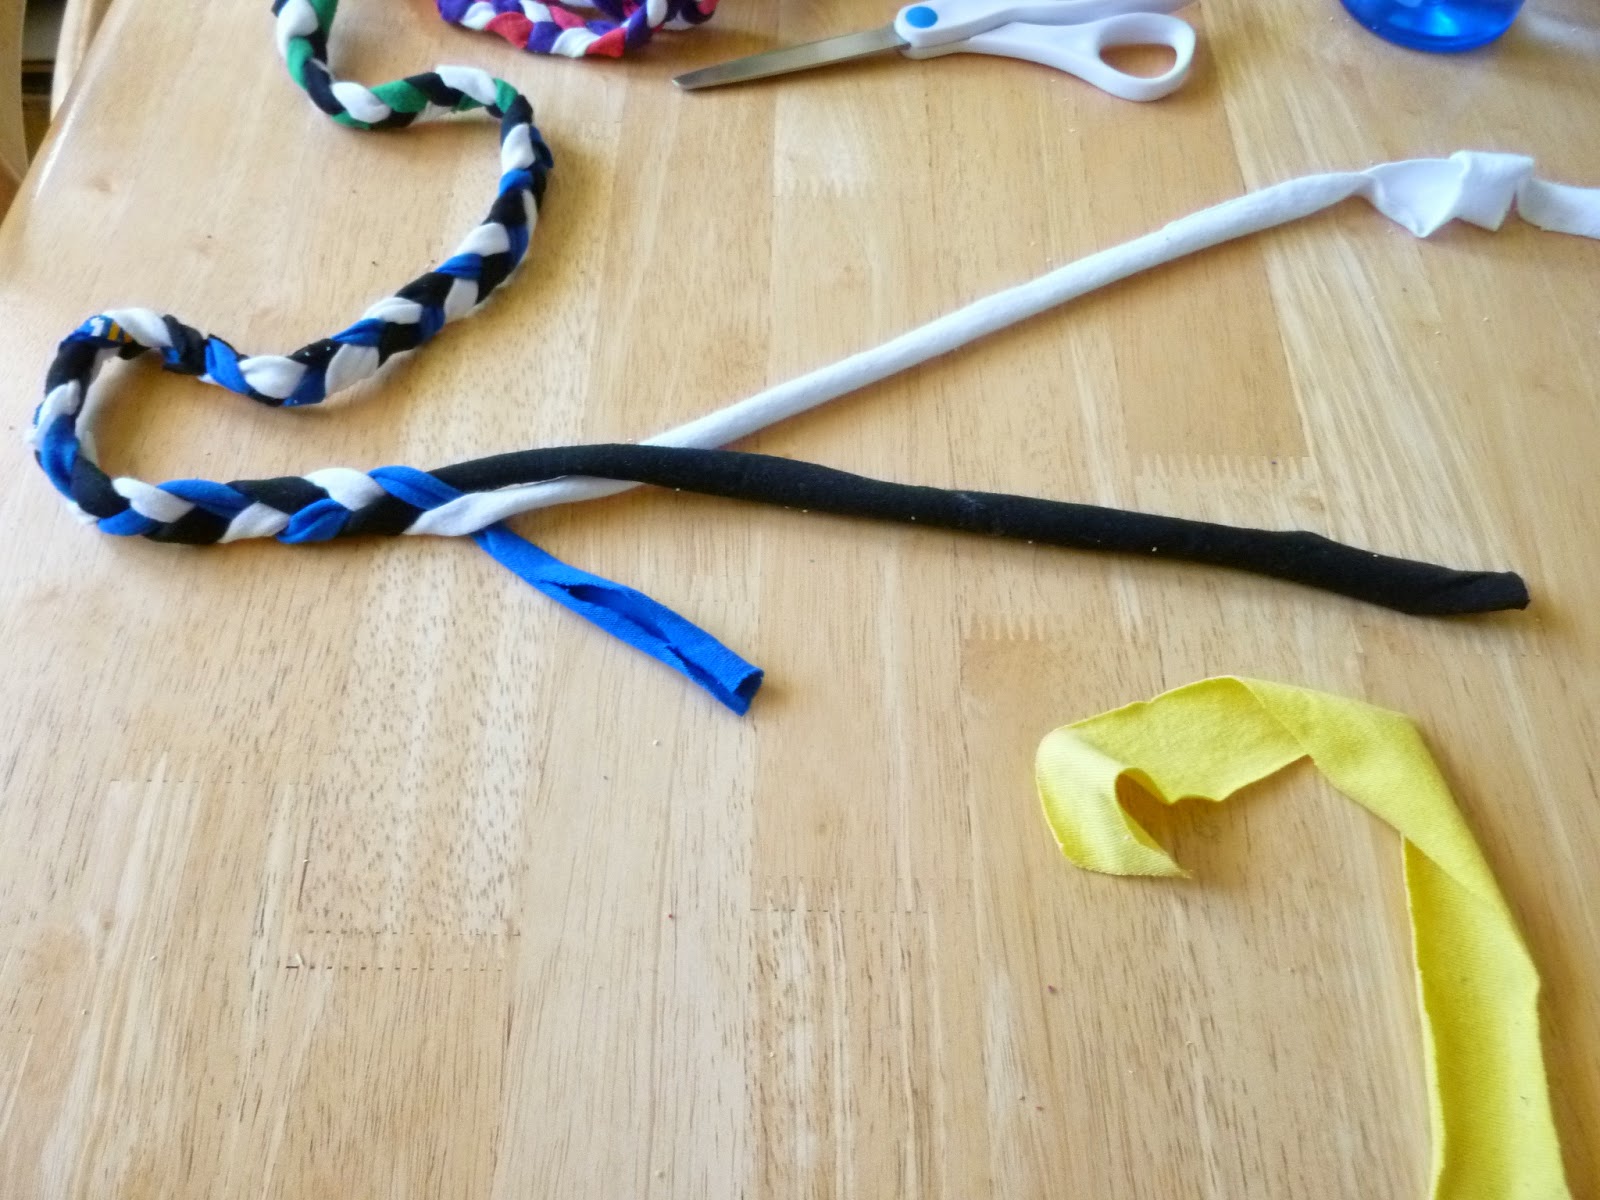
1. Cut long strips of T-shirt material about an inch or an
inch and a half wide. Make them as long as you can.

How many T-shirts do you need? It's hard to say because I used a lot of the parts with words that I can't use for other projects instead of whole T-shirts. Probably 5-8?
2. Roll them into balls. This keeps you from having a tangled mess on your hands. Here are two.
 3. Sew three together with a needle and thread. Begin braiding. Or you could do it the other way
around.
3. Sew three together with a needle and thread. Begin braiding. Or you could do it the other way
around.
2. Roll them into balls. This keeps you from having a tangled mess on your hands. Here are two.


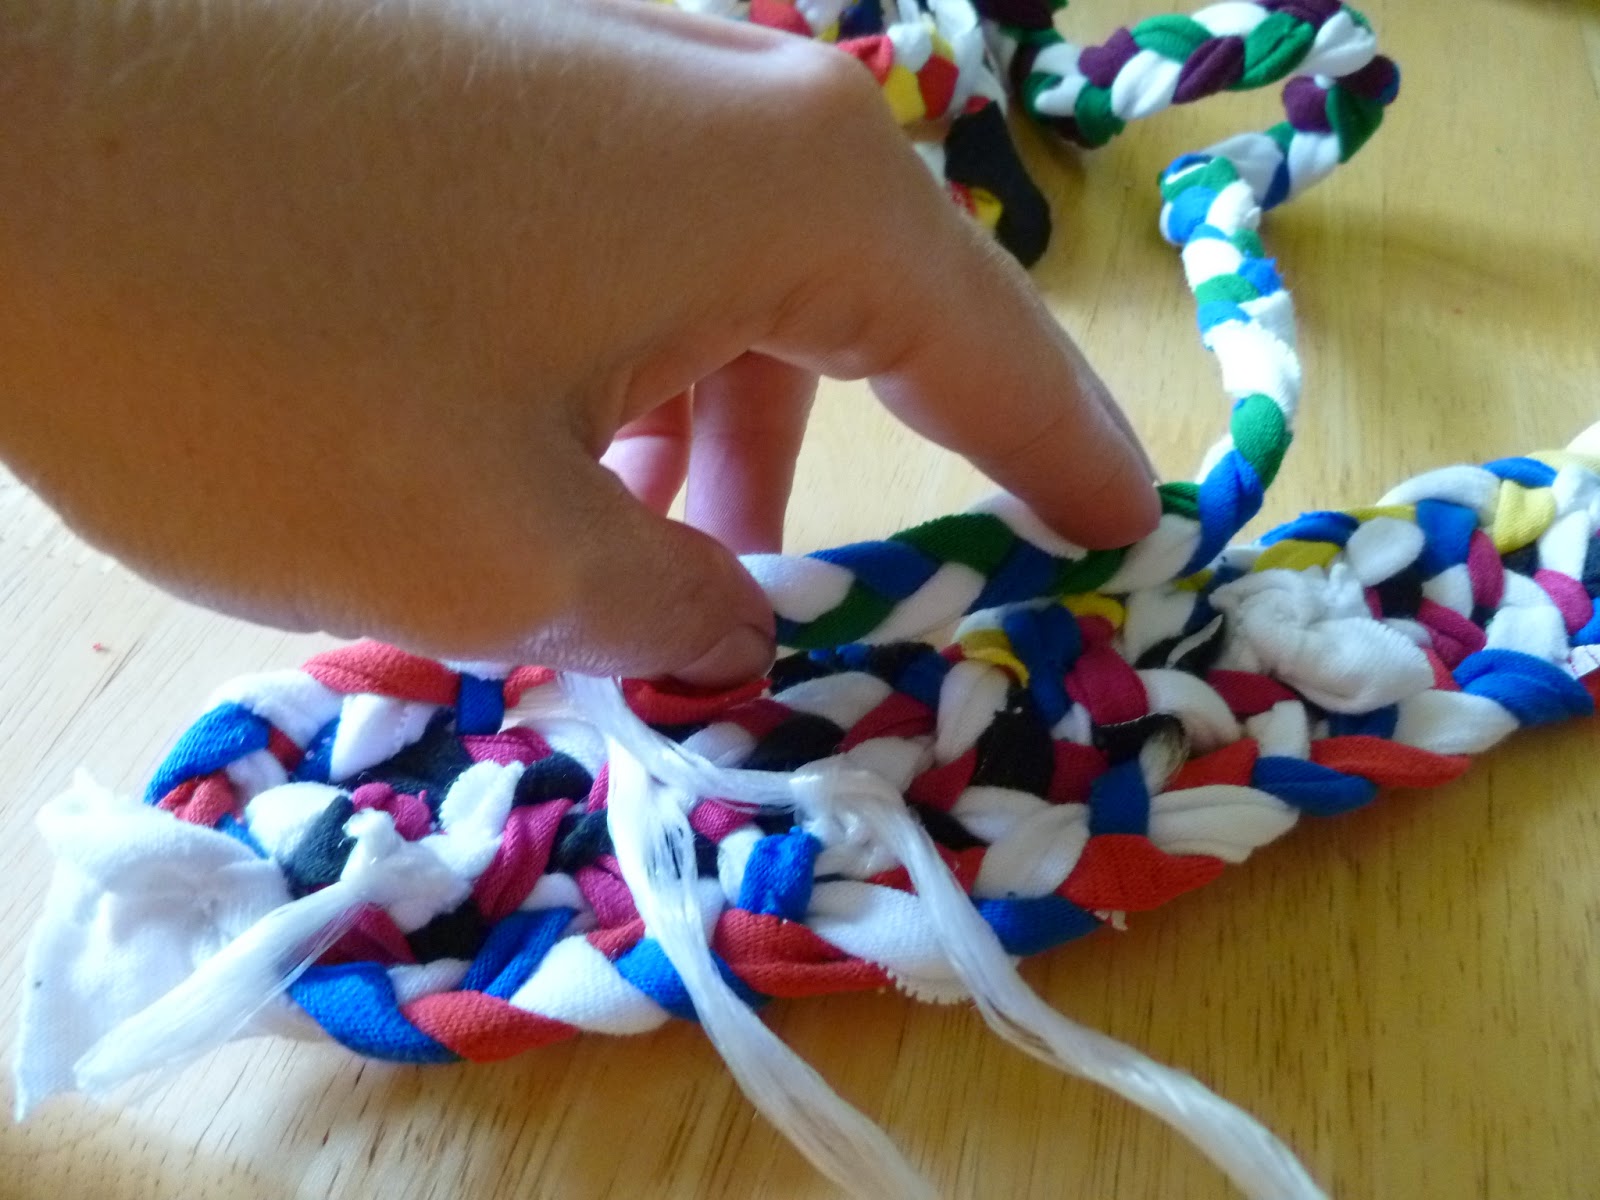
Keep braiding! This takes a while....
3.5 When you need to add-on to your T-shirt strip (or to change colors) here is how to do it WITHOUT sewing.


I figure this technique will also be useful for escaping with bedsheets if I am ever locked in a tower.
4. Here’s what you’ll need for the next step.


The pink thing is a toothbrush needle, made from an Dollar
Store toothbrush and power tools. (I
didn’t make it—it was part of my toothbrush-rug-making class.) The plastic twine is used for tying packages
together. It was a gift from a little
old lady who had used it to make rugs out of old upholstery fabric, so I didn’t
buy that either. It is called polypropylene
baler/baling twine, and I’m not sure how to get less than 20,000 yards of it if
you go through Amazon.com. I’d try the
hardware store and see what options they have, or maybe one of those specialty store for mailing packages.
5. Using a toothbrush needle or something similar and some plastic yarn, coil the
braid into the shape you want. Weave the plastic twine in and out of the
braids, binding them together.


6. To add more plastic twine, just knot it however you like,
piling knot on knot. (We’ll glue the
knots at the end.)


7. Making the sides of the purse is a bit hard. You need to put the first row of the side of
the purse at a right angle with the bottom.
Most of your weaving you are moving the needle horizontally,
like this:

But to make that right angle you need for the bottom to
become the side, you start weaving with your needle going round and round or
vertically, like this:


8. Keep going until you have the size purse you want. At some point you’ll probably want to coil
the braid to keep it all together.

9. Weave the plastic twine into the handle to make it
stronger.

10. Sew the end together with a needle and thread, exactly
as you did in the beginning.
11. Turn the purse inside out. Apply generous amounts of clear, strong glue to the knots. You’ll want something stronger than
PVA. Think industrial and
foul-smelling.

12. Clip any excess twine AFTER the glue has dried.

13. Turn the purse right side out and you are done!

I like this. But I don't see how the part with attaching the new strip to the old one works. I looked at the pictures but it still looks like it should fall apart to me. ~ CMW
ReplyDeleteI'll try to make a video to show how that works this weekend. (It's also a helpful technique if you are imprisoned in a lofty tower and have to escape with tied up bedsheets, so it would be good to spread the word as to how it works.) ;)
Delete