Let's start with the AFTER:

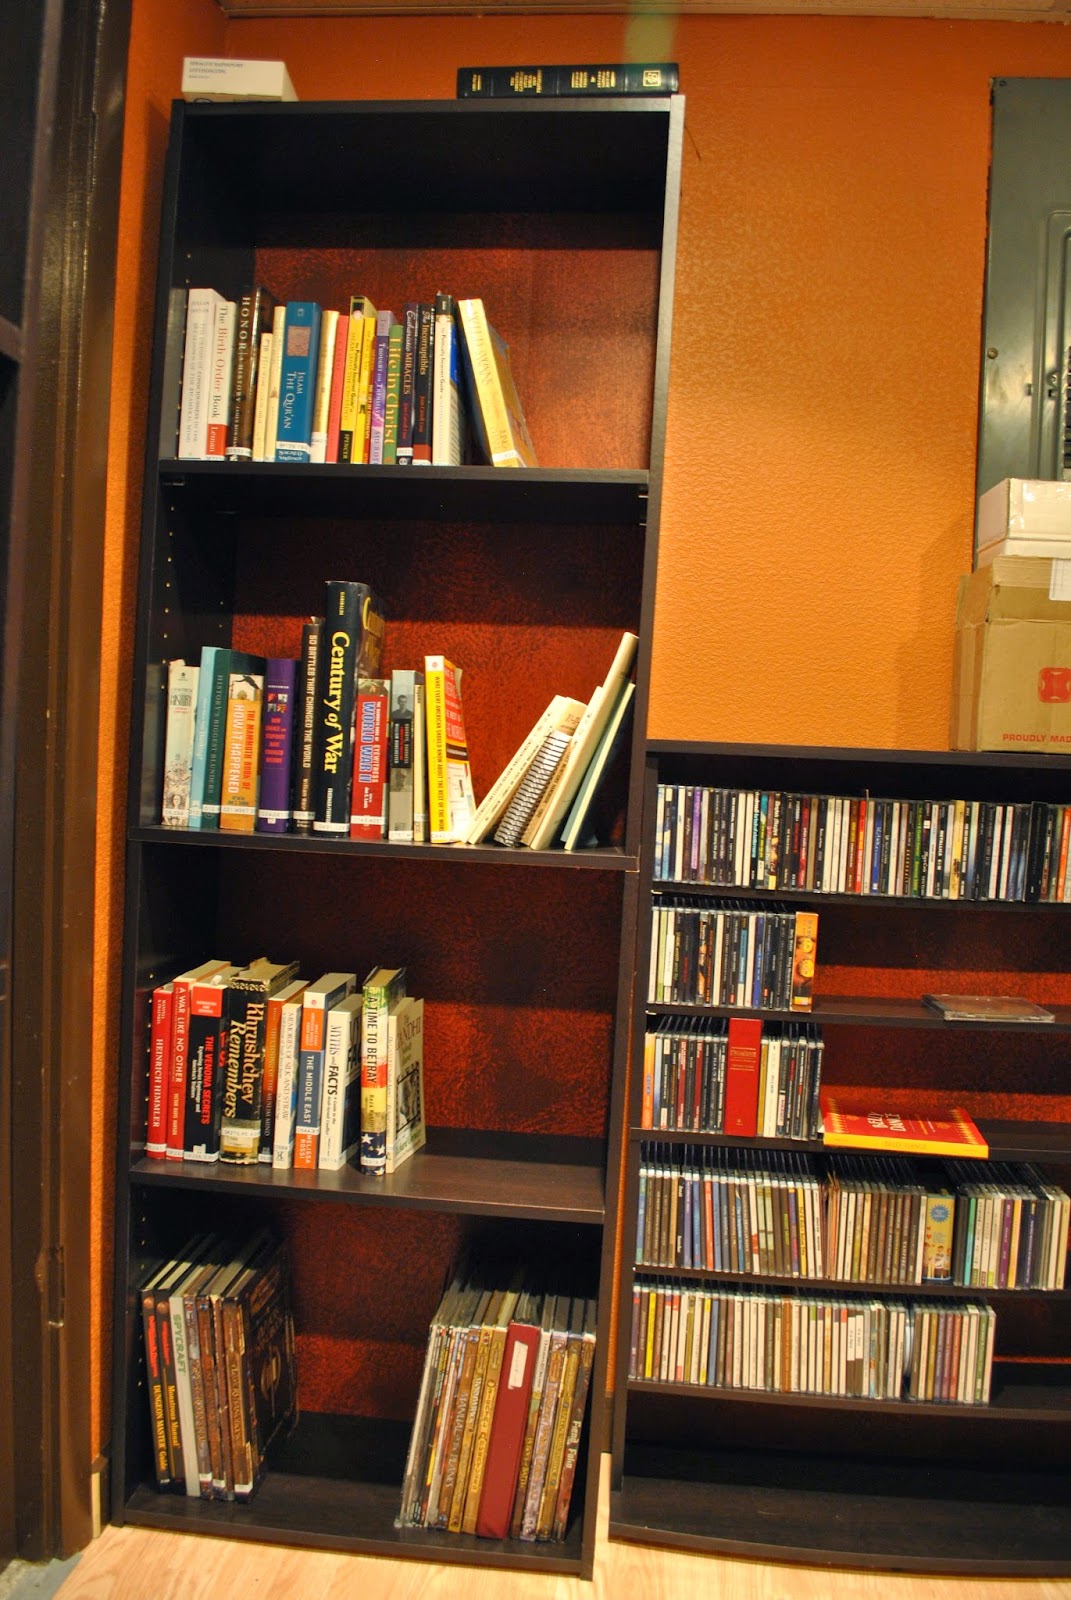
Aunty M. has lots of class and style. Her bookshelves didn’t.
 |
| BEFORE |
So she found just the perfect contact paper to put in the back of the bookshelves to add that subtle pop of sophistication. Unfortunately, it was $25 a roll. She had six bookshelves. Do the math. Not cool.

So we decided to do some faux painting.
We picked colors somewhat different than the original contact paper to better match her current décor. We had four colors.

She has this super-fun book called Faux Finish Secrets

We tried two variations on a technique called “flogging.” Here are the step, a lá Brian Santos.
Mix the glaze.

- One half-quart stain or eggshell latex interior paint.
- Two quarts glazing medium
- One-half quart water
- 6 ounces Floetrol (a binding medium)
- 4 drops fabric softener (or one-fourth teaspoon per gallon of paint).
To make more or less glaze, use 1 part paint color to 4 parts glazing medium. (See page 88 in Santos)
Positive or negative?
There are basically two ways to do apply the second coat, the glaze. You can apply it and then remove it with the tool (negative). Or you can apply it with the tool (positive).
 |
| Positive technique - adding paint |
 |
| Positive technique - adding paint |
 |
| Negative technique - removing paint |
 |
| Negative technique - removing paint |
Apply the glaze. We experimented with three ways to apply glaze, two negative and one positive.
Rolling. Just roll it on over a section of base coat that has cured overnight. (If you are doing a positive flogging technique, skip this part.)

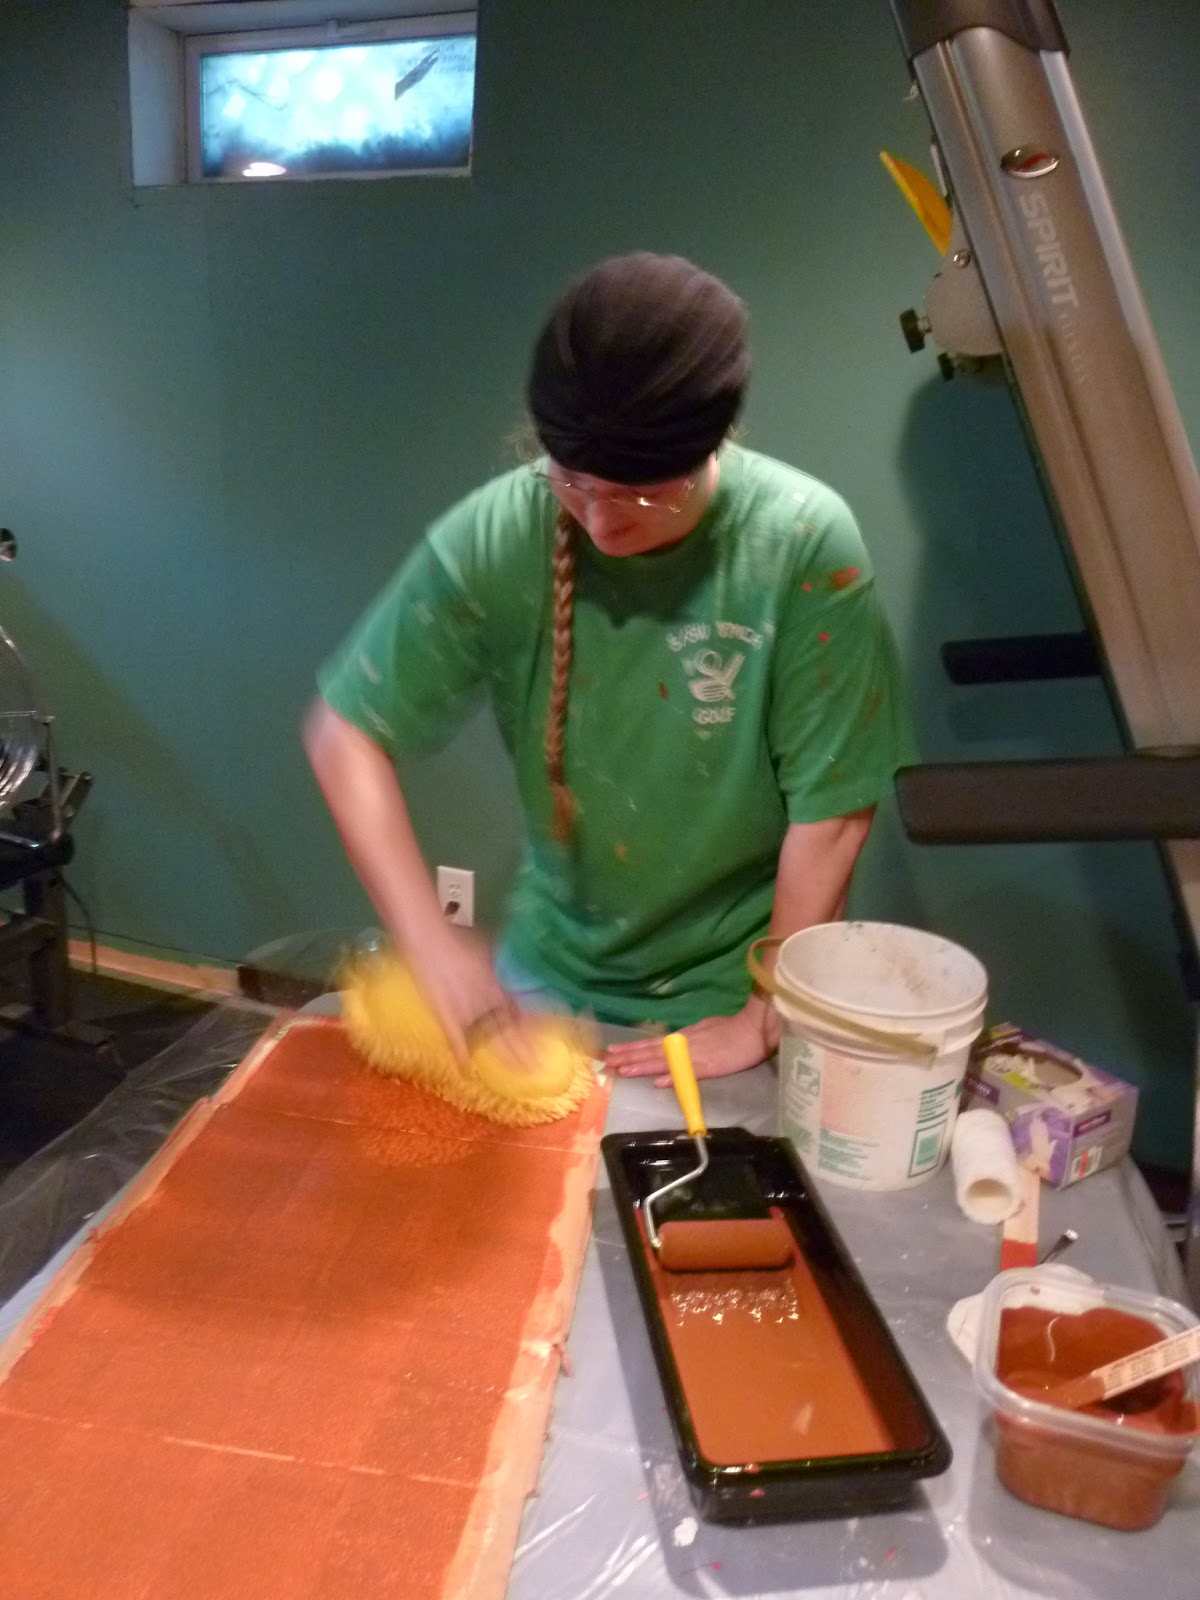
Circular sponging. Blot glaze one with a loaded sea sponge. Blot glaze off with a synthetic wallpaper sponge (page 106 in Santos) (If you are doing a positive flogging technique, skip this part.) This is a washing technique, not a flogging one. (Confused yet?)

Flogging it on with the muppet car sponge. See below under “Start Whacking.”
Start whacking. Pick up a tool or two and start striking the surface. Work in 4x8 sections. We used a floppy rubber thing originally intended for cleaning cars aka the muppet sponge. You can flail away at the surface using a wide variety of other items, everything from mops to rags to toilet cleaning brushes. As mentioned above, you can whack with a loaded tool to add glaze (positive technique) or whack with a moistened tool to remove glaze (negative technique). When using the negative technique, you’ll need to stop occasionally and clean paint off of your tool.

So many options! This is why it was a good idea to paint 8 sections of cardboard! We also played with yellow dots, using sponges that had been cut into circles. We decided to forgo them in the final product to avoid looking to clown-like. One thing we had to keep in mind with this project is that the majority of the surface area was going to be covered by books and it was difficult to predict exactly what part was going to show because we weren't painting them in place. There was a possibility that we would only see two or three dots per bookshelf, which would have just looked odd.
After much merry experimenting, we spread out our samples and picked the one we liked: lighter base coat, medium wash coat applied with circular sea sponge and blotted with the synthetic wallpaper sponge, and then a final dark brown coat, most of which was removed with flogging.
Then it was time to tackle the real deal.


Aunty M bought matching bookshelves, just the ordinary kind from Shopko. Before assembling them, we applied our faux painting techniques to the backs.

One thing she did that I thought was particularly clever, was that she had primed the back of the backs. This meant that the glossy side that would normally be showing was facing the wall when we were done. Ergo, she always has the option of removing the backs and flipping them if that look no longer matches her décor.

It was a lot of fun, and much easier than I had expected. One big tip, though, is to relax and be open to surprises. It isn't going to come out uniform. It just isn't. (At least not with the flogging technique.) So you gotta be able to roll with it!
Please feel free to leave any questions in the comments!
No comments:
Post a Comment