The first plastic tray mirror I made turned into one of my
all time favorite pieces.
 |
| Yes, those tiny beads are pearls. Presumably not real ones since they were in a big box of plastic beads at an auction! |
Here’s my second one, the subject of this tutorial:
This mirror keeps the party in party tray!
Curious as to how I did it? The tutorial starts after the jump
I started with this cheap plastic tray that my Mom didn’t want.
I started with this cheap plastic tray that my Mom didn’t want.
I added translucent paint that is designed to look like
stained glass. You can buy a set here, but you can also get individual bottles at the craft store. The brand is "Plaid." It takes about four hours to dry and you MUST let it dry completely between stages. Trust me on this.
 |
| Taken at the Busy Hands afternoon in March |
For the initial layers, I followed the pattern of the
plastic.
Then I added dots of paint…..
And used a foam brush to spread them out in streaks, which looked really cool until the paint dried..

Unfortunately, the streaks were so thin the color didn’t
really show. It looked like it need
cleaning!
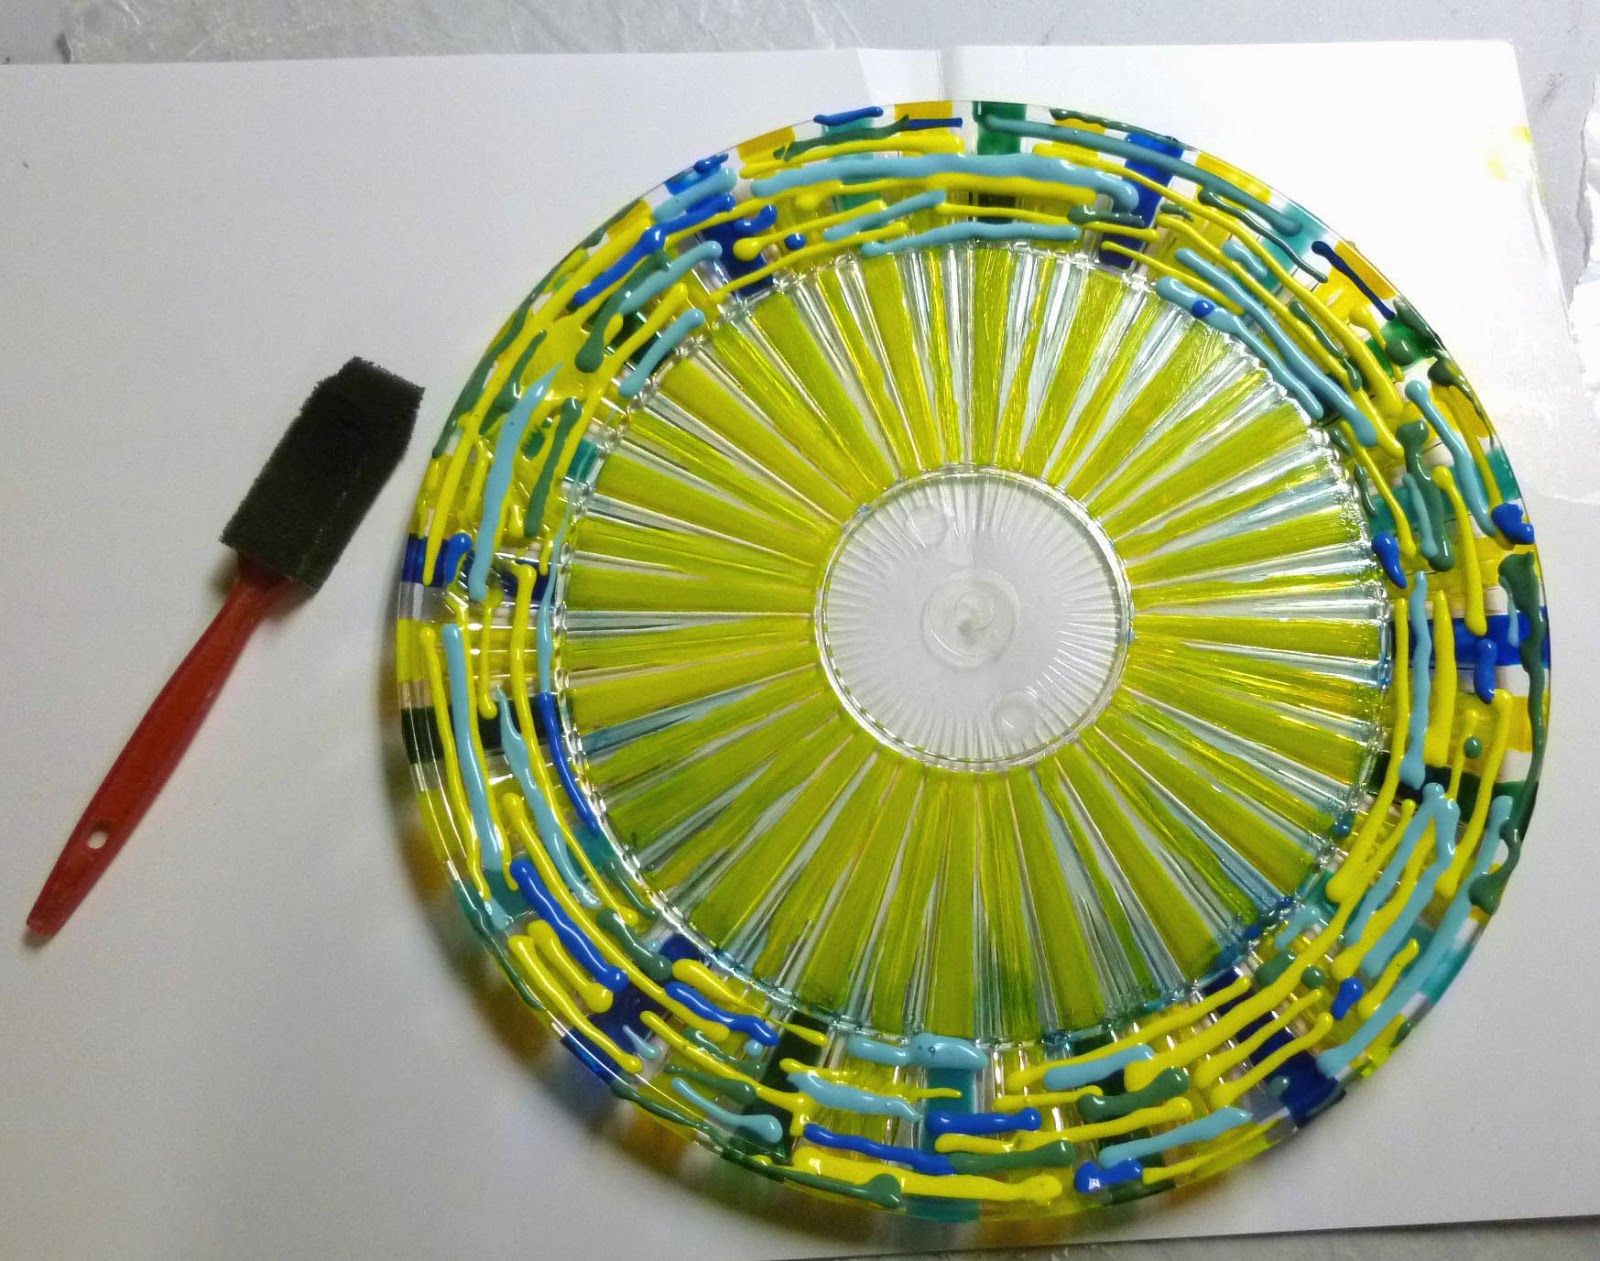
So I did much thicker streaks of paint
Which worked pretty well.
So I did it on the edges.
I had to do it twice to get the contrast dramatic enough. This is not a shy sort of mirror!
Next, I made a necklace of brightly colored beads and glued
them in order to cover up the messy section where streaks going one way met
streaks going the other way.
I glued some beads along the edge of the mirror itself with
Beacon 527.

To hang it on the wall, I looped clear fishing wire through
a metal ring left over from of the Magician’s chain mail projects. Then I glued the metal ring to the back of
the mirror, in the center where it wouldn’t show, using my favorite Beacon
527. (The mirror is quite light, so I
wasn’t too worried about how to hang it.)
I tried to center the metal ring so the mirror would hang with the beads
at orderly intervals like the numbers on the face of a clock, but I didn’t
quite manage it.
All done!
Questions and comments are always welcome. Hope this inspires you!


What a great idea, thank you for sharing your artistry!
ReplyDeleteThanks for stopping by!
DeleteLovely project.... and a great way to re-use some of those odd things we all have!
ReplyDeleteSo glad you like it!
ReplyDeleteFor more tutorials, stop by the "Gallery" page and click on any of the photos.
Happy Creating!