Here is the before.
The problem? Lots of
wasted space. Lots of inaccessible items. General chaos.
 |
| The black box on the lower shelf is empty. It's used as a riser. |
The first few steps can be applied to any organization
challenge.
1. Take everything
out of the space.
2. Sort everything
into two categories: keep and throw away.
3. After throwing
away one pile, sort the remaining items into categories that make sense to you.
4. Sort into
boxes. If you have a bunch of shoe
boxes with lids, you're golden. If not,
at the end of this post is a visual on how to make the boxes with lids that I
used.
5. Use name tag
labels, or file-folder labels, or whatever labels you have a lot of to label the boxes. If you change what you use the box for, just
slap another label exactly on top of it.
Remember to put the label on with the box lid on so that you won't end
up sticking the label somewhere that it is going to get covered up when the box
lid is in place. I put a label on one side and the front.
6. Put the boxes in
the space, trying to put the more frequently accessed ones on top. Stuff you need all the time, hopefully he
won't need to put in a box.
The photo essay on making the box lids
or
How to Make a Shoebox Lid for an Ordinary Box
 |
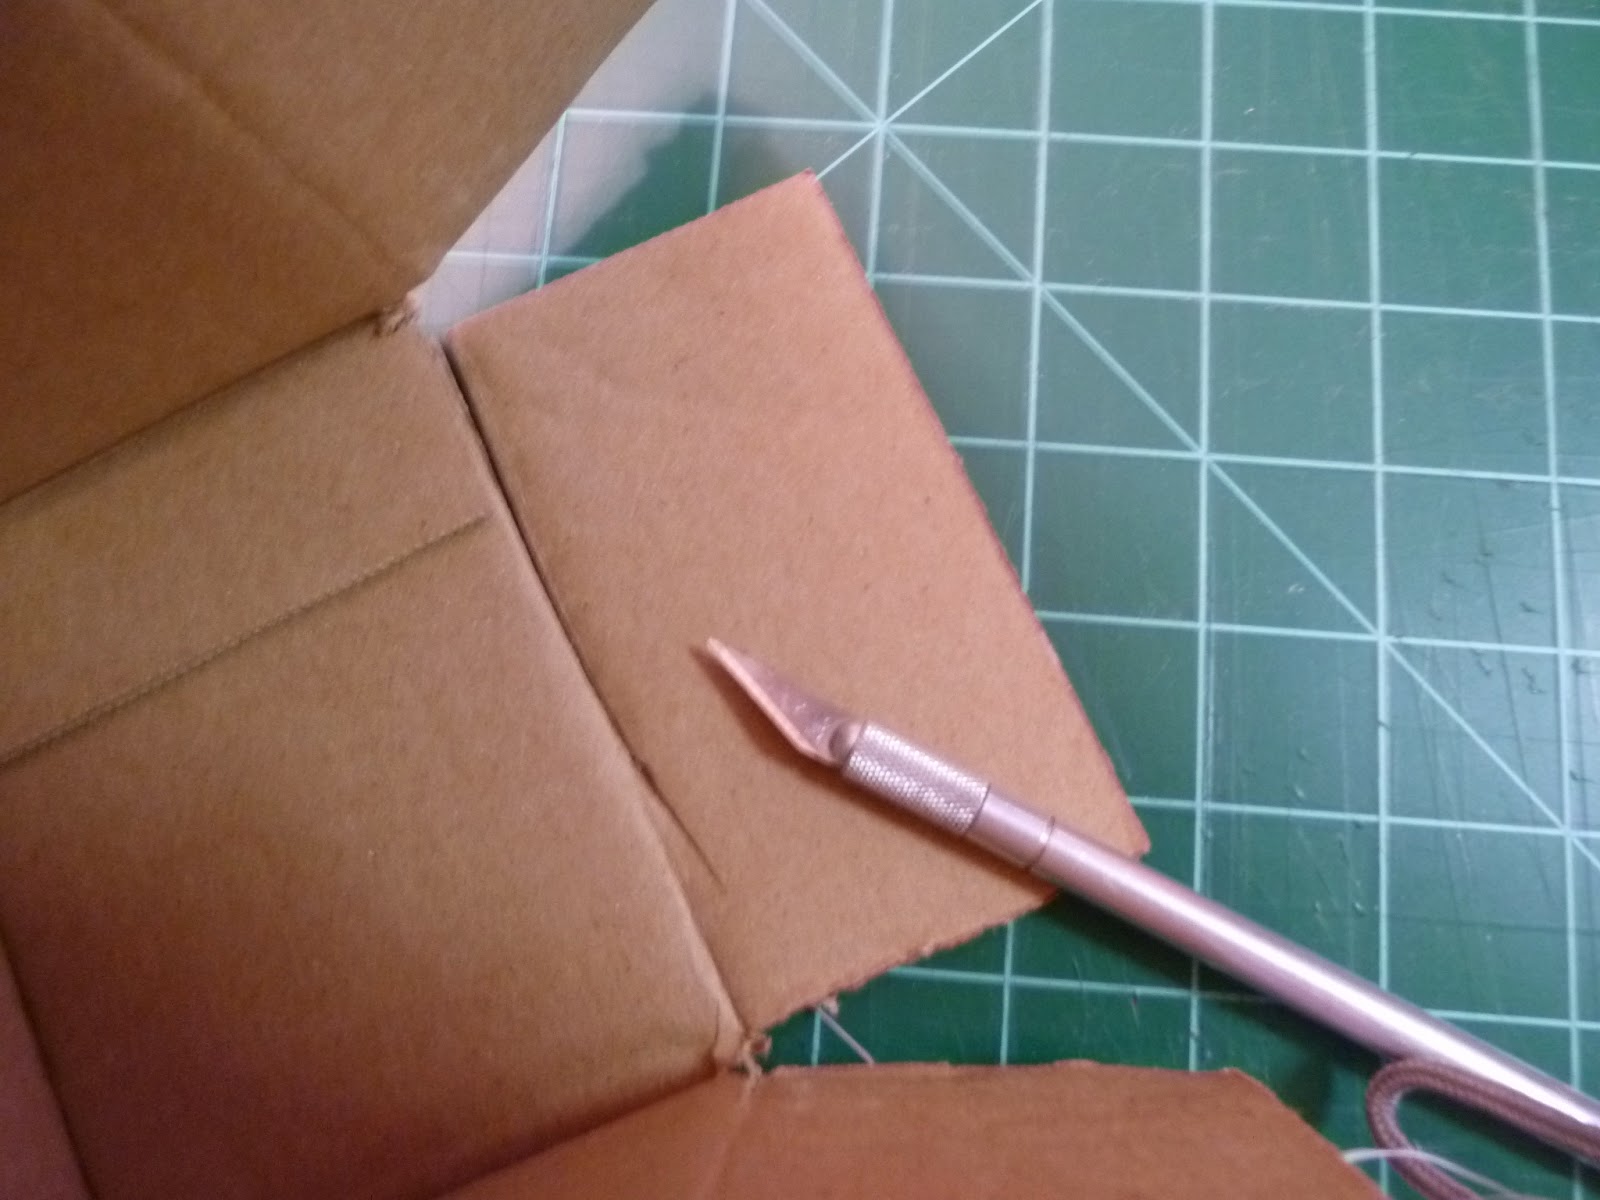
| Remove the flaps. |
 |
| The square in the corner is one inch x one inch but you can make it any dimension as long as it is a square. |
 |
| Cut where the Xs are. |
 |
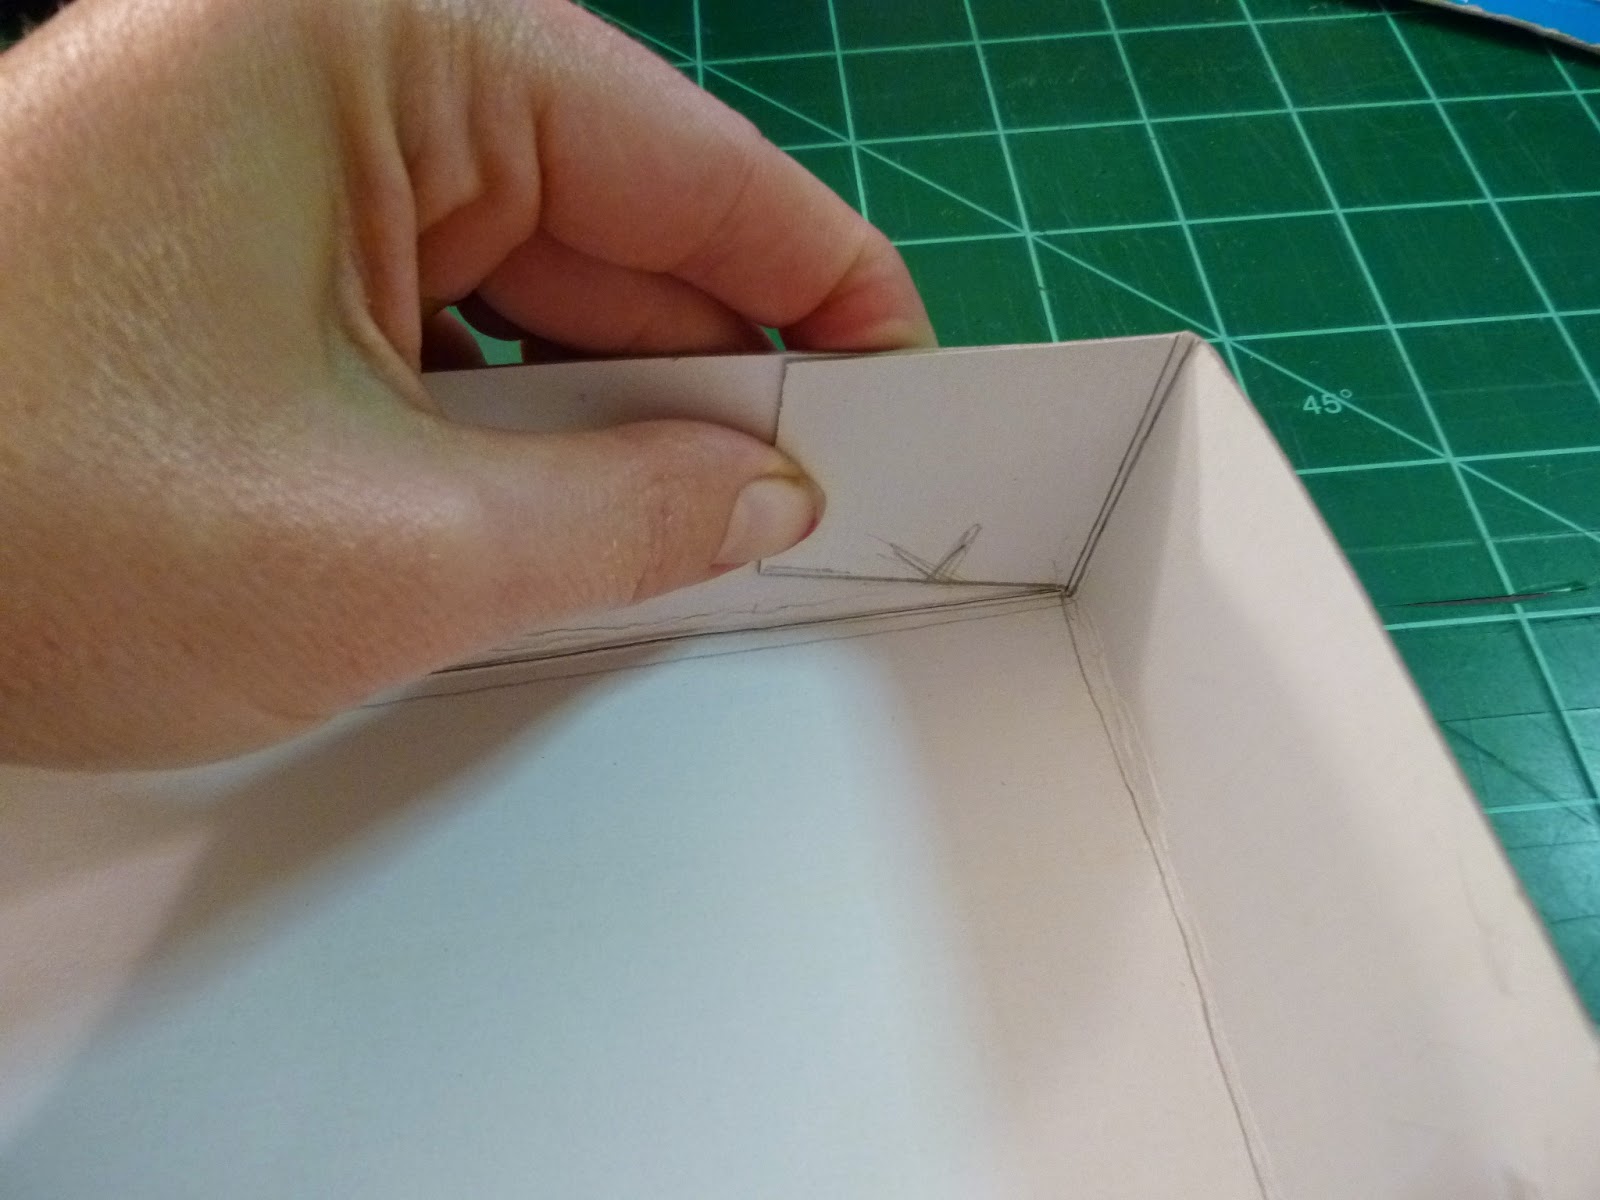
| Test before you tape! |
 |
| If the box lid is too snug, cut the flap as per above.... |
 |
| .... and angle it thus to give yourself more room. You may need to do this one side or on all four corners. |


I really like the "make a lid" part. Very useful!
ReplyDelete